There are plenty of blog articles out there about the different types of tree felling cuts.
But unfortunately, most of them miss to address the biggest dangers when making tree felling cuts.
They give you all the techniques, without a proper word of caution.
Make no mistake!
Tree felling is dangerous.
Even if the area around your tree is clear, accidents can happen easily, especially if one doesn’t know what he’s doing.
In this blog post, I’ll lay out the most proven and safe tree felling techniques that I have learned throughout my years as a professional arborist.
But not only that.
I’ll also show you what NOT to do, so you can stay safe out there.
Before We Begin
Before doing any type of tree work, you should have undergone professional training and familiarized yourself with the most important safety precautions.
Also, please take note that this article is for informational purposes only.
Green Tree Services doesn’t assume any responsibility for accidents or injuries happening as a cause of following any of the recommendations in this article.

What’s A “Barber Chair” And How To Avoid It
Now that we got the disclaimer out of the way, let’s first talk about what most articles miss to address:
Barber Chairs
Yes, you’ve read that right.
But I’m not talking about this one:

I’m talking about this kind of barber chair (click to watch):
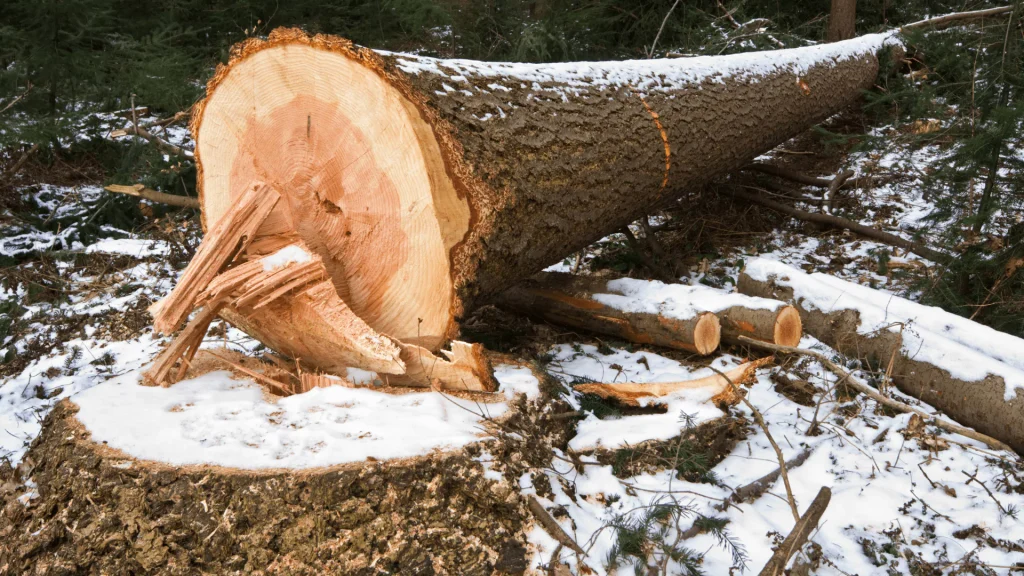
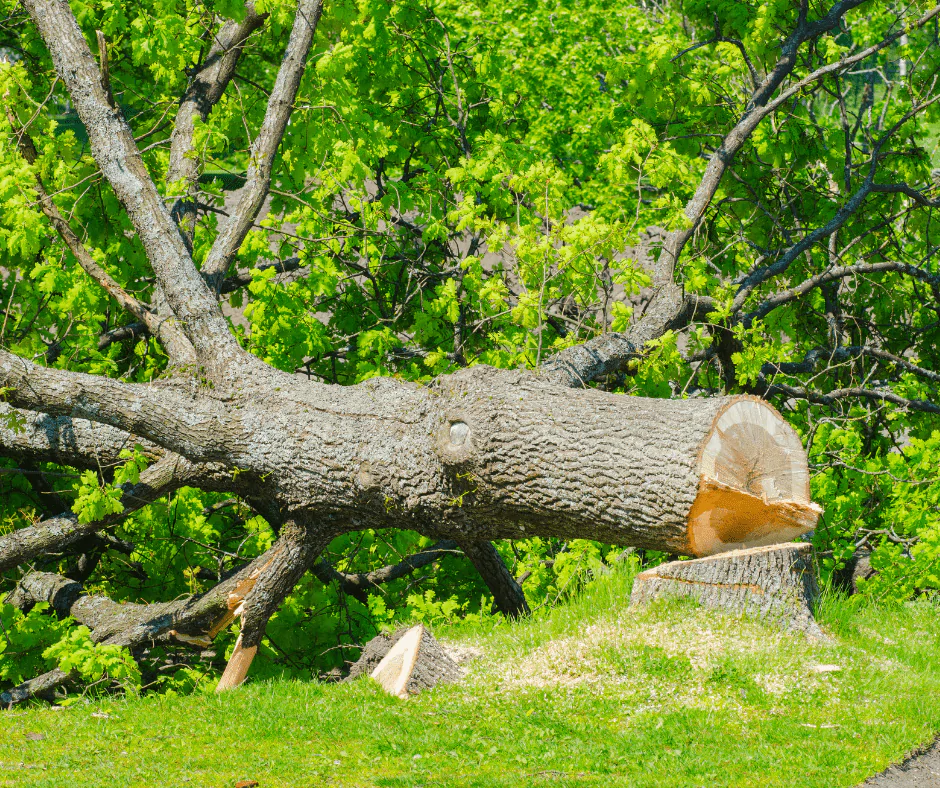
A barber chair is a dangerous and potentially life-threatening situation that can happen when felling a tree:
Instead of falling as intended, the tree splits vertically up the trunk because the hinge wood fails to hold the tree together properly. This often happens when the back cut, which is the final felling cut, is made too far back or too quickly, causing the tree’s weight to shift suddenly.
The result is a vertical split that can cause the trunk to spring backward toward the operator or collapse unpredictably in multiple directions, making it one of the most dangerous scenarios in tree felling.
There are various ways to reduce the risk of a barber chair split.
The first, and most important one, is to actually make a felling notch.
This might seem obvious, but often times it is being neglected by amateurs, resulting in serious and even fatal injuries.
In addition to a felling notch, a bore cut can be made, to further reduce the risk of a barber chair split.
The ultimate precautionary method is using a tree trunk press.
Let’s first have a look at the different types of tree felling notches.
The Traditional Notch
How to Make a Traditional Notch
The traditional notch, as the name says, is a conventional method for setting a tree felling notch.
Here’s how to do it:
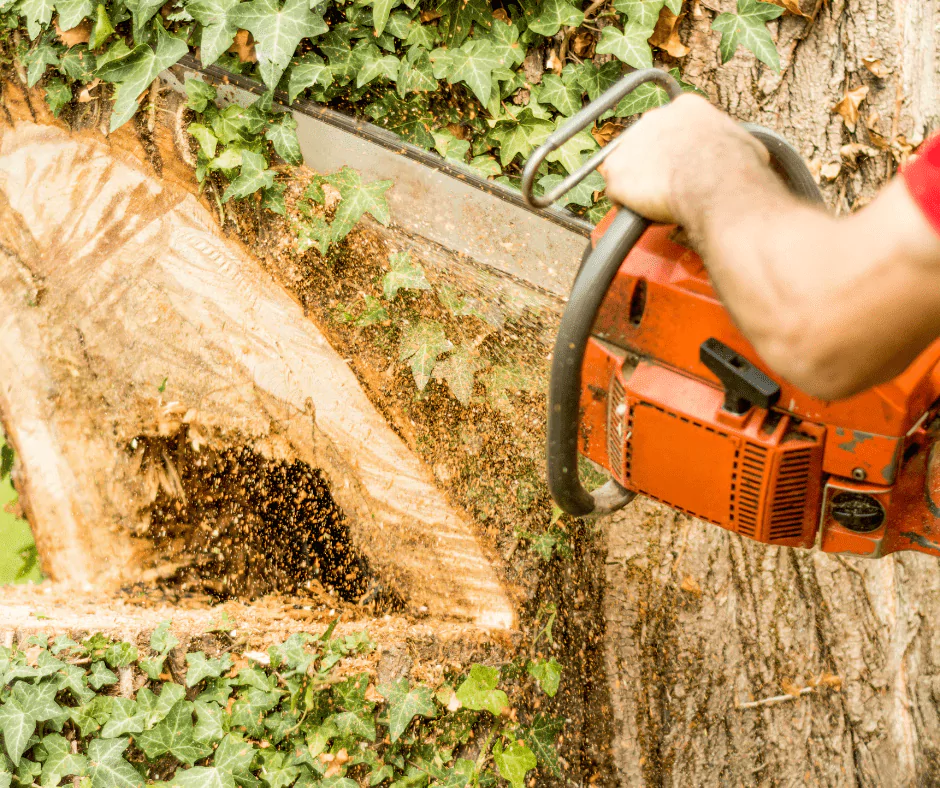
- The first cut is a top cut at a 45-degree angle.
- The second cut is a horizontal cut that meets the top cut at the apex of the notch.
- The final felling cut is the back cut, set from the opposite side of the tree, and 1-2 inches above the height of the second cut.
On the second cut, pay attention to not drive your chainsaw past the apex of the notch, as this can compromise the hinge wood, which would reduce your control over the fall direction and increase the risk of a dangerous barber chair split and other issues.
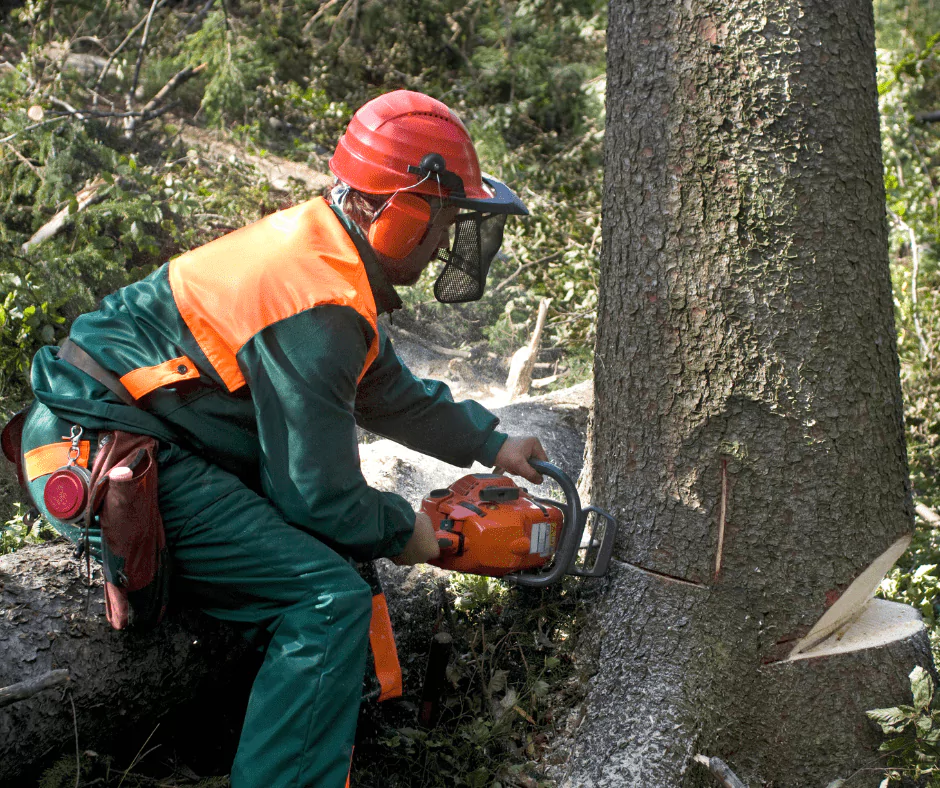
Those are the basics, but there’s more to learn. For example, how to properly hold your chainsaw, how to position yourself to not risk being hit in case of a barber chair split, etc.
Please attend a chainsaw training course before attempting any of these techniques yourself, or hire a professional.
When to Use the Traditional Notch
The traditional notch is a type of cut best used for for basic tree felling on level ground, where the tree’s size and lean do not require advanced techniques.
Pros and Cons of the Traditional Notch
Pros:
- Simple method that is easy to learn.
- One of the fastet ways to fell a tree.
Cons:
- Limited control over the direction of the fall.
- Not ideal for special trees or situations requiring precision, such as steep slopes or leaning trees.
The Humboldt Notch
How to Make a Humboldt Notch
The Humboldt notch is a popular felling method for larger trees and those on steep terrain. It involves a flat cut for the top and an upward angle cut for the bottom.
- Start with a horizontal top cut on the side of the tree facing the intended direction of the fall.
- Make the bottom cut upward to meet the top cut, and DO NOT cut beyond the apex of the notch.
When to Use the Humboldt Notch
The Humboldt cut is another standard felling cut used by loggers and tree removal services, especially when felling larger trees or managing slopes.
Pros and Cons of the Humboldt Notch
Pros:
- Excellent for directional notching in challenging environments.
- Effective for guiding the felled tree on uneven terrain.
Cons:
- Slightly more complex to execute than the traditional notch.
- Precision is essential to avoid issues with the hinge, such as hinge breaks.
The Open-Faced Notch
How to Make an Open-Faced Notch
The Open-Faced notch is designed for maximum control over the tree’s fall and uses two angle cuts.
- Begin with a top cut at a 70-degree angle on the side facing the intended direction of the fall.
- Make the bottom cut at a 20-degree angle to meet the apex of the notch.
- Set the back cut dead even with the apex of the notch.
When to Use the Open-Faced Notch
This method is ideal for safe felling, especially when obstacles such as power lines or nearby structures require precision. Arborists and tree surgeons use it frequently for high-stakes tree cutting operations.
Pros and Cons of the Open-Faced Notch
Pros:
- Provides better control compared to the traditional notch.
- Reduces the risks of a barber chair split and misdirection.
Cons:
- Takes more time and skill to execute correctly.
- Requires thorough planning.
The Bore Cut
How to Make a Bore Cut
The bore cut is an advanced technique that can be used after making the notch to relieve internal tension in the tree trunk, especially for trees with a forward lean or those who are prone to a barber chair split.
It allows the operator to create the back cut without compromising the hinge wood prematurely, giving better control over the falling tree.
Here are the steps for setting a proper bore cut:
- Create the notch first: The notch is cut on the side of the tree facing the desired fall direction. You can use any of the 3 notches explained above.
- Perform the bore cut: A plunge cut is made into the center of the tree trunk, behind the hinge wood, to control tension and avoid splitting.
- Complete the back cut: The back cut is connected to the bore cut from the opposite side of the tree, ensuring a clean and controlled fall.
When to Use the Bore Cut
The bore cut is essential for large or leaning trees, especially in situations where the risk of a barber chair is high.
Pros and Cons of the Bore Cut
Pros:
- Prevents barber chair splits by relieving trunk tension.
- Offers superior control over the direction of the fall.
Cons:
- Requires experience and skill to execute safely.
- More time-consuming compared to other felling methods.