
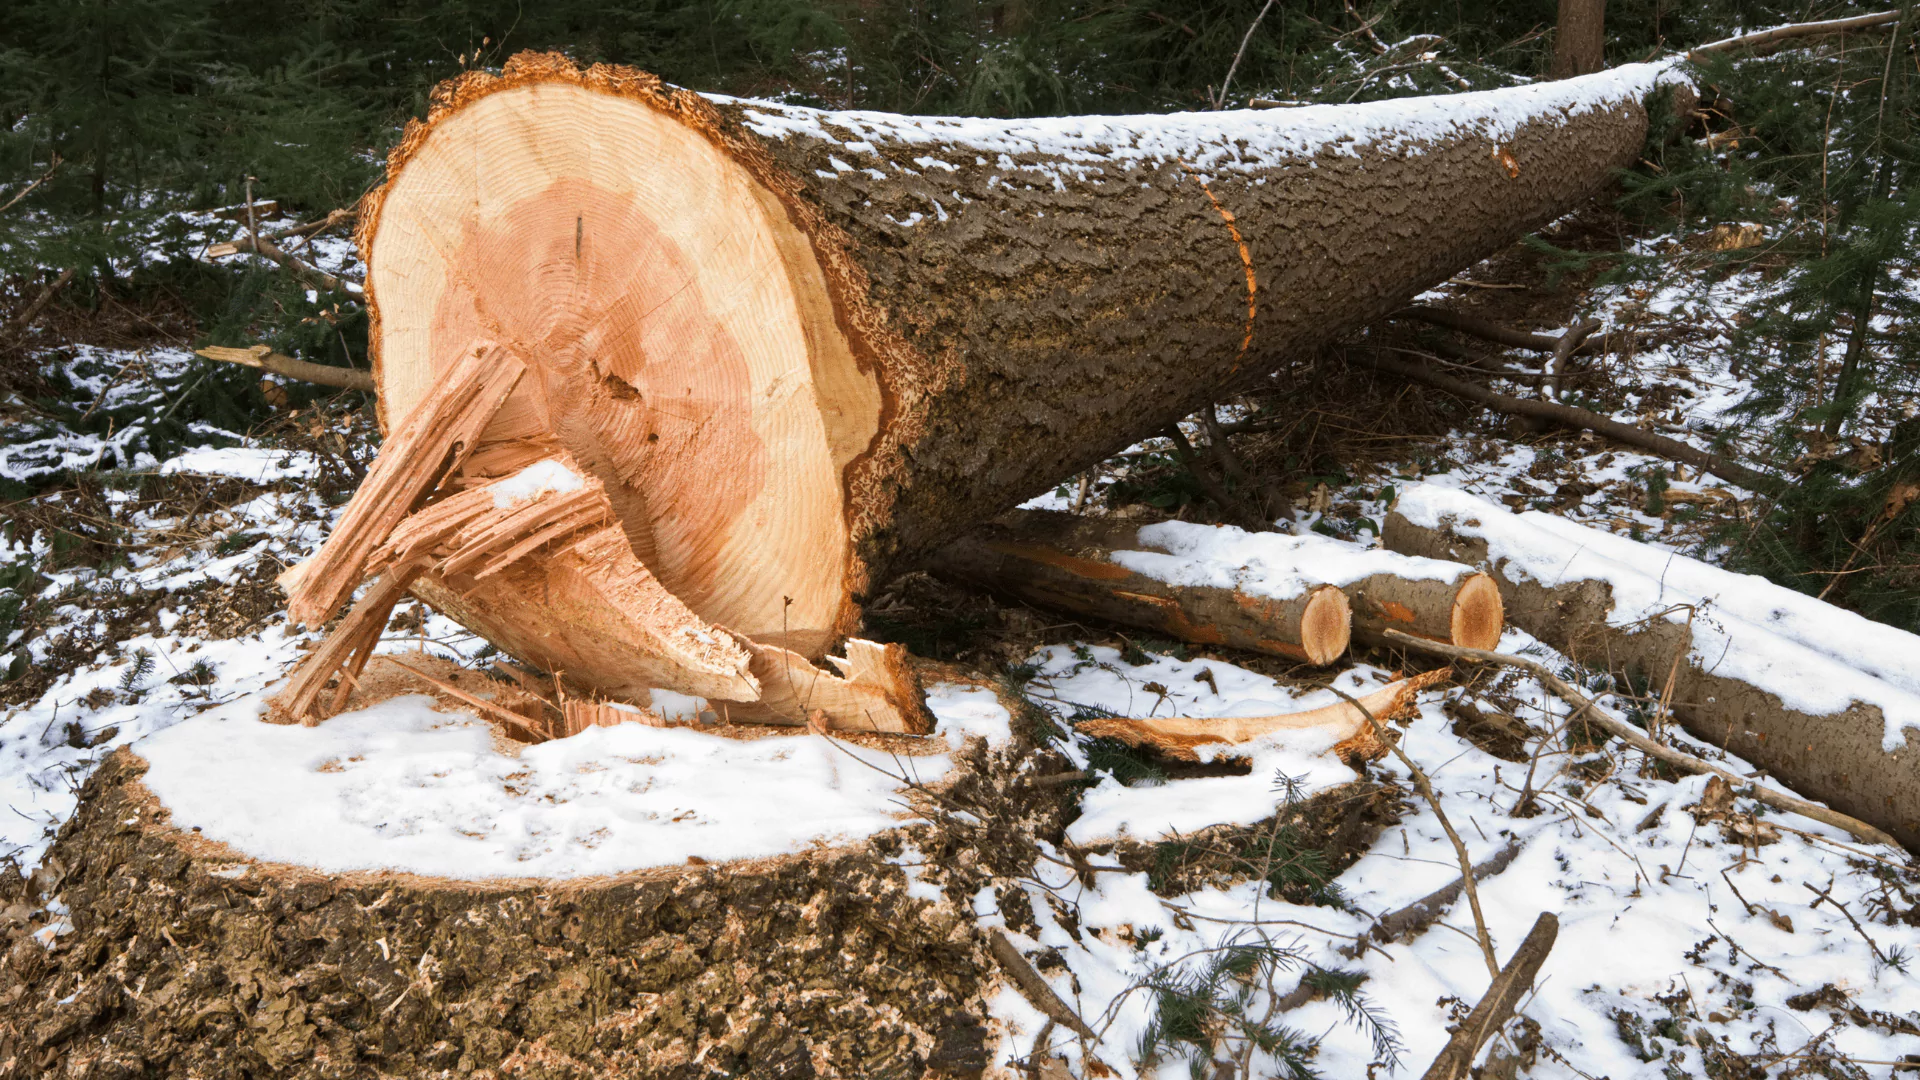
There are plenty of articles out there about the different types of tree felling cuts. Most of them miss the biggest dangers.
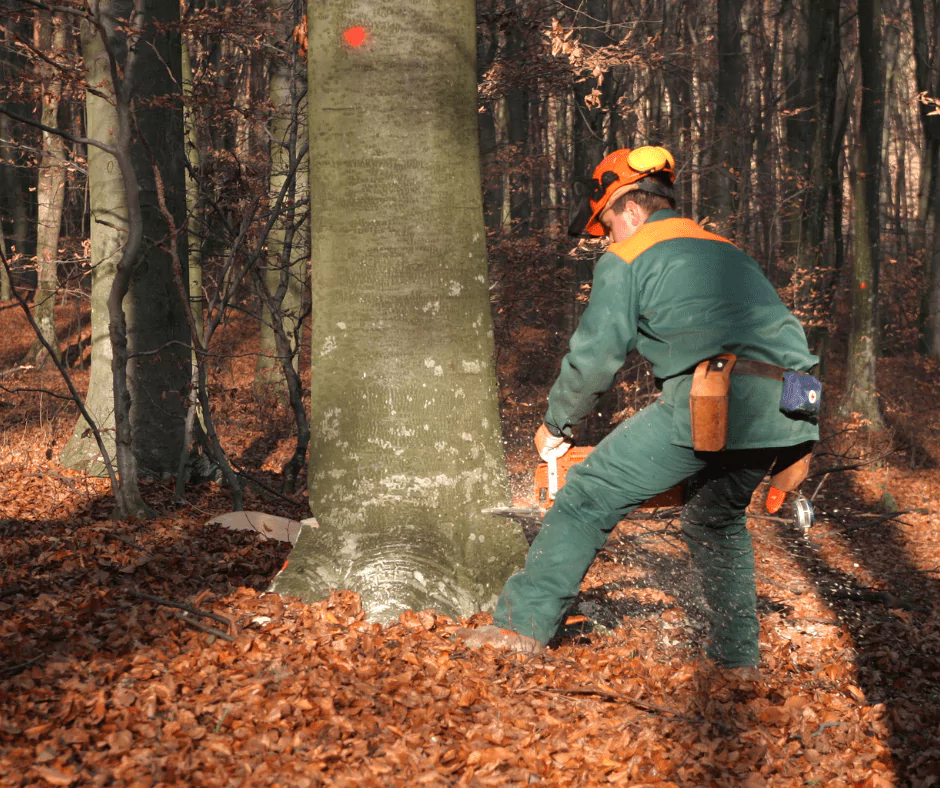
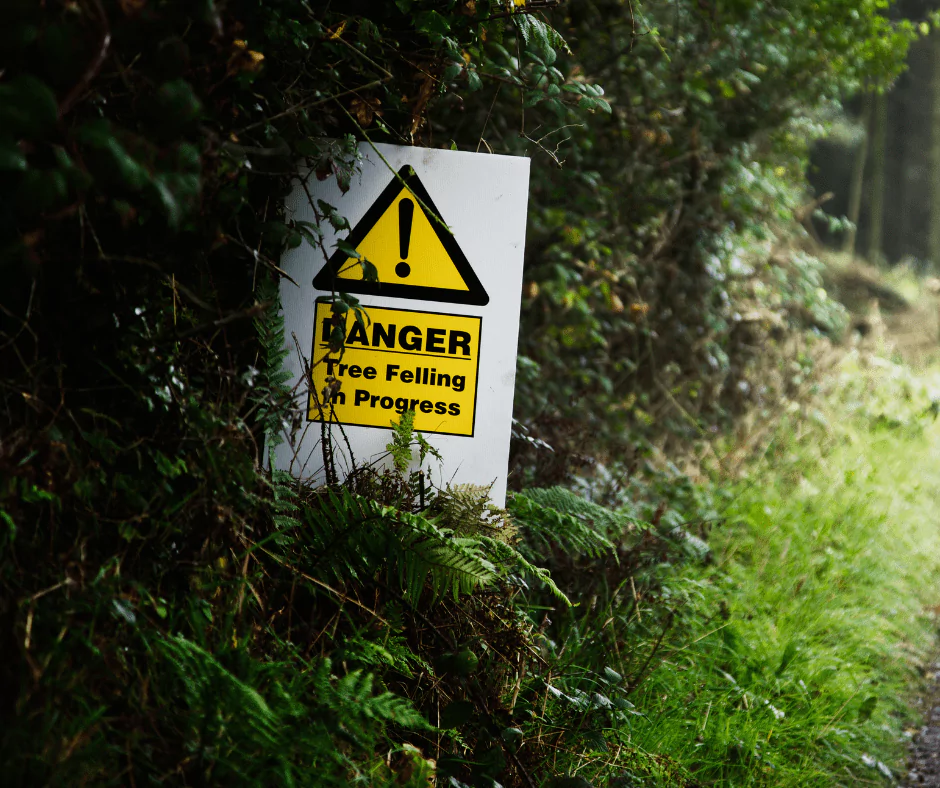
They'll give you the techniques, without a proper word of caution. Make no mistake — tree felling is dangerous. Even if the area around your tree looks clear, accidents happen fast, especially if you don't know what you're doing.
I've been doing this professionally since 2015, first managing large crews on commercial projects in California, now running my own company here in Warrenton. In this guide, I'll walk through the felling cuts I actually use, and — just as important — the safety rules I'd want any homeowner to know before they even pick up a chainsaw.
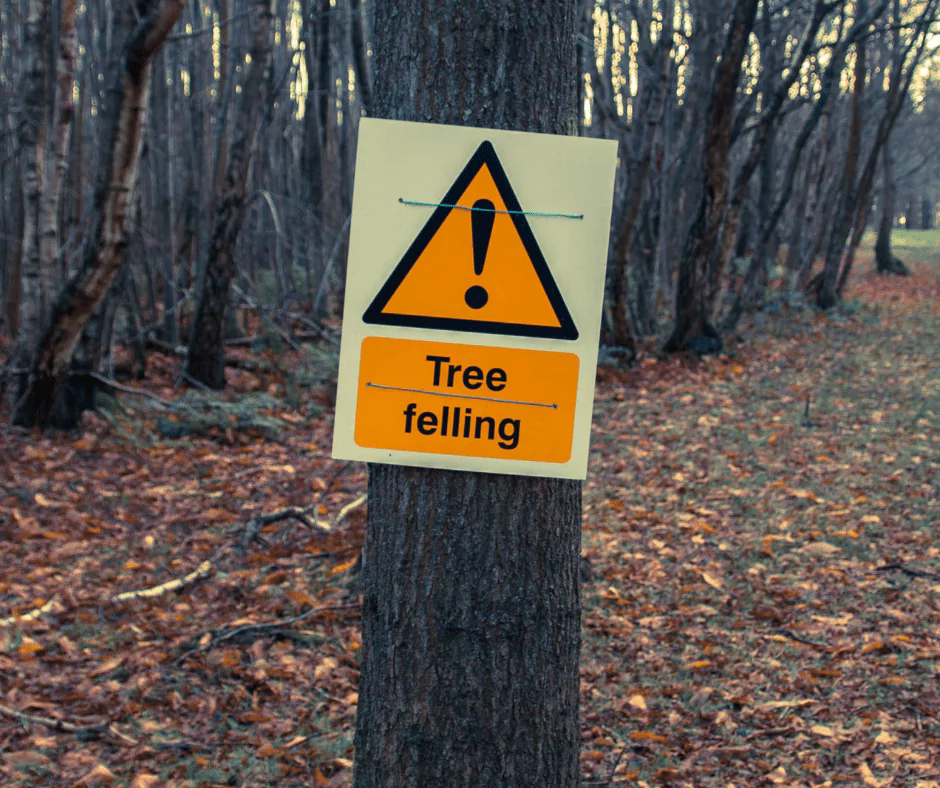
Before You Even Think About Cutting
This article is for informational purposes only, and it's not complete — it doesn't cover every safety aspect of tree work. If you're in doubt at any point, stop and call a professional. Green Tree Services doesn't assume responsibility for injuries or damage resulting from anyone following the advice here.
With that said, here are the 10 rules that matter most before any tree comes down:
If in doubt, don't. What looks like a safe cut to an amateur can be a fatal mistake in reality. Larger trees especially should go to professionals.
Wear real safety gear. Safety glasses, ear protection, sturdy gloves and boots, and chainsaw chaps or protective pants — not optional.
Never run a chainsaw without training. Read the owner's manual, understand the chain brake, and practice in a controlled setting first.
Check the weather first. High wind, rain, or slippery ground turns a manageable job into an unpredictable one. Wait for calm conditions.
Never work alone. A second person can clear escape paths, watch for danger, and call for help if something goes wrong.
Know your escape route. Plan it before the first cut, keep your eyes on the tree as it falls, and never turn your back until it's fully down.
Don't cut above shoulder height. It kills your control over the saw. That's a job for a pole saw or a professional trimming crew, not a ladder and a chainsaw.
Check for power lines before you start. They can be hard to spot under foliage, and contact can be fatal. If lines are close, hire a certified arborist.
Respect the tree's natural lean. Ignoring it is how trees end up falling in a direction nobody planned for.
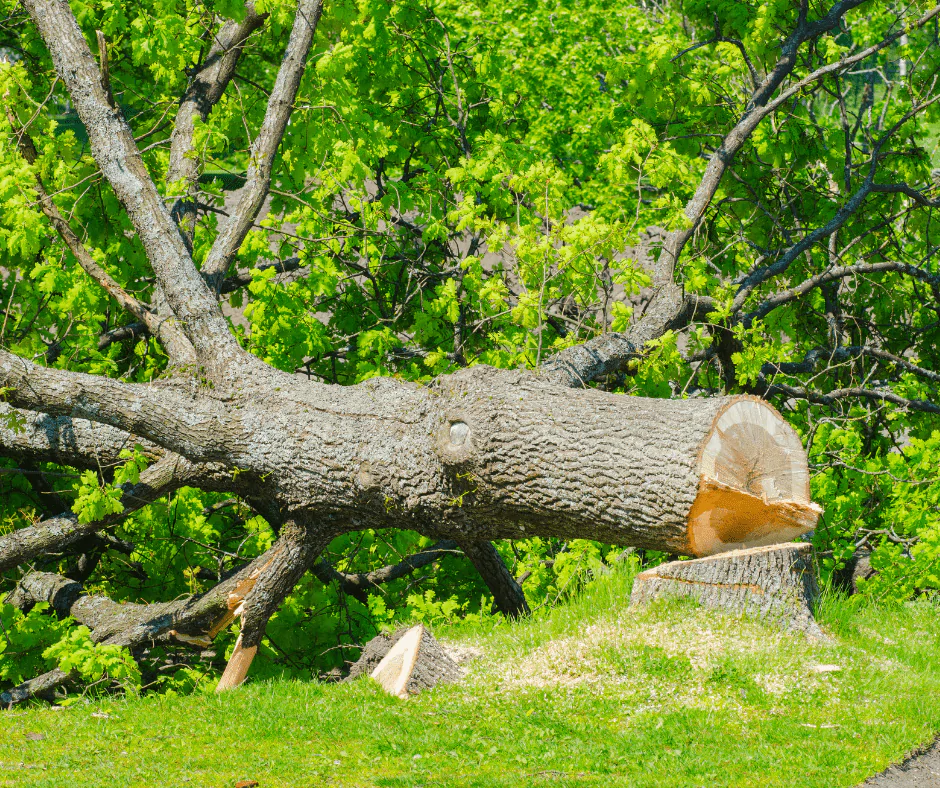
Clean up properly afterward. A messy site — branches, stump, debris — is its own hazard once the tree is down.
Two situations deserve their own mention: if you're dealing with several trees at once, that's a different job entirely — see our land clearing page for how we approach multi-tree sites. And if a tree is already leaning, split, or storm-damaged, the risk profile changes completely — that's covered on our emergency tree services page, not this guide.
What's a "Barber Chair" and How to Avoid It
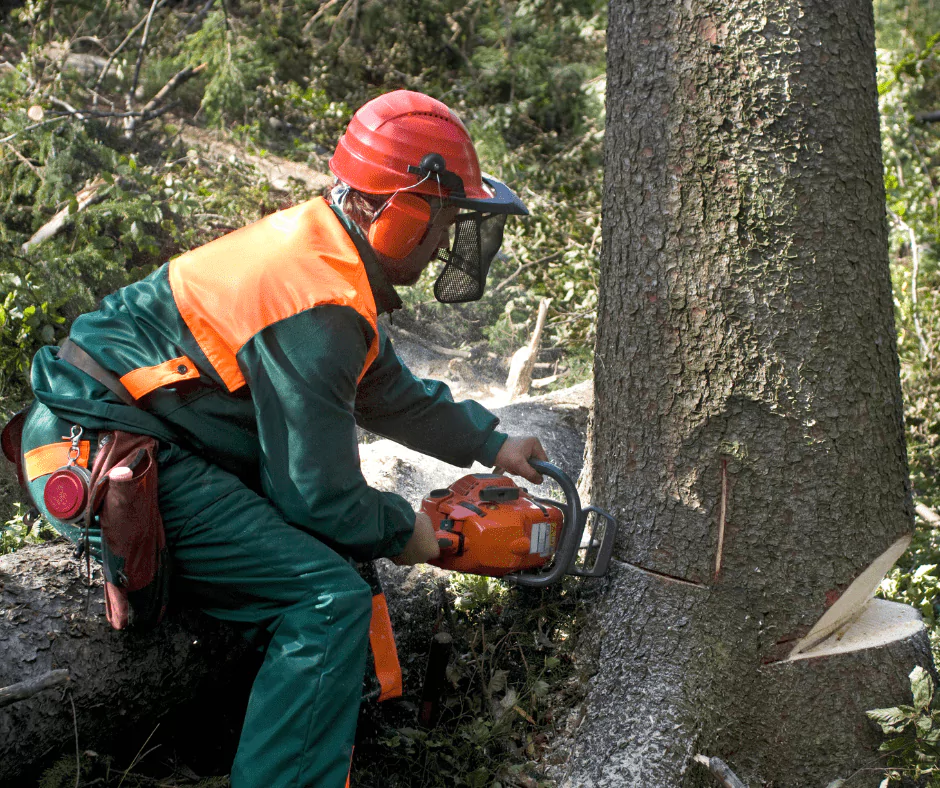
Now that the disclaimer's out of the way, let's talk about what most articles skip entirely.
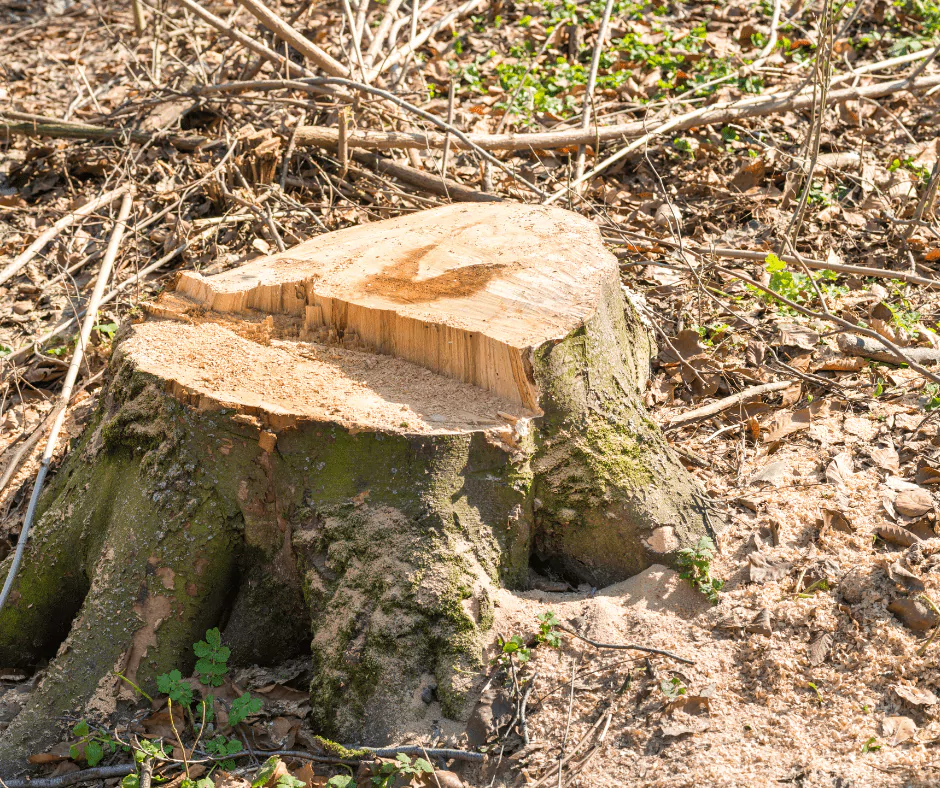
A barber chair is one of the most dangerous things that can happen when felling a tree. Instead of falling as intended, the tree splits vertically up the trunk because the hinge wood fails to hold it together. This usually happens when the back cut is made too far, or too fast, causing the tree's weight to shift suddenly.
And no, not this kind of barber chair:
This kind (click to watch):
The result is a vertical split that can send the trunk springing backward toward whoever's cutting, or collapsing unpredictably in multiple directions. It's one of the most dangerous scenarios in tree felling, professional or not.
Always cut a proper felling notch. Skipping this — often by amateurs who think they can eyeball it — is one of the most common causes of serious injury.
Add a bore cut for trees with a forward lean or any risk of splitting (more on this below).
The four notch types below all reduce barber chair risk differently — which one applies depends on the tree and what's around it.
1. The Traditional Notch
The conventional method for setting a felling notch. A top cut at a 45-degree angle, then a horizontal bottom cut meeting it at the apex, followed by a back cut 1-2 inches above the second cut, from the opposite side of the tree.
Best for basic felling on level ground, where the tree's size and lean don't call for anything more advanced.
- Simple, fast method to learn
- One of the quickest ways to fell a tree
- Limited control over fall direction
- Not ideal on slopes or leaning trees
2. The Humboldt Notch
A popular method for larger trees and steep terrain — a flat horizontal top cut, then a bottom cut made upward to meet it (never cutting past the apex).
Common among loggers and tree removal crews for larger trees or sloped ground.
- Excellent directional notching on tough terrain
- Guides the fall well on uneven ground
- More complex than the traditional notch
- Precision matters — hinge breaks are a real risk
3. The Open-Faced Notch
Designed for maximum control, using two angle cuts: a 70-degree top cut on the side facing the fall direction, a 20-degree bottom cut meeting its apex, and a back cut set dead even with that apex.
The go-to method when obstacles like power lines or nearby structures demand precision — used often by arborists on high-stakes removals.
- Best control of any standard notch
- Reduces barber chair and misdirection risk
- Takes more time and skill
- Requires careful planning beforehand
4. The Bore Cut

An advanced technique used after the notch to relieve internal tension in the trunk — especially for trees with a forward lean, or any tree at real risk of a barber chair split.
Cut the notch first (any of the 3 above), then plunge into the center of the trunk behind the hinge wood, and finish the back cut from the opposite side. This lets you control tension instead of releasing it all at once.
- Prevents barber chair splits directly
- Superior control over fall direction
- Requires real experience to execute safely
- More time-consuming than other methods
Cleanup After the Cut
The tree's down — now what? For the stump, the most efficient and least invasive method in most cases is stump grinding, ground below grade so it won't regrow or become a tripping hazard.
For the rest of the debris: smaller branches and leaves can be composted, many areas offer curbside yard waste pickup, and larger volumes usually call for a professional hauling service. Leaving a messy site isn't just an eyesore — it's its own hazard.